One of my clients recently asked, “How can I add a self created gif to a WordPress post using the Gutenberg text editor?”
Here’s a way of doing this without using any plugins.
1. If you want to add the gif into a new post or page then you need to first create this or if you wish to add the gif into an exising page or post you need to open this in edit mode.
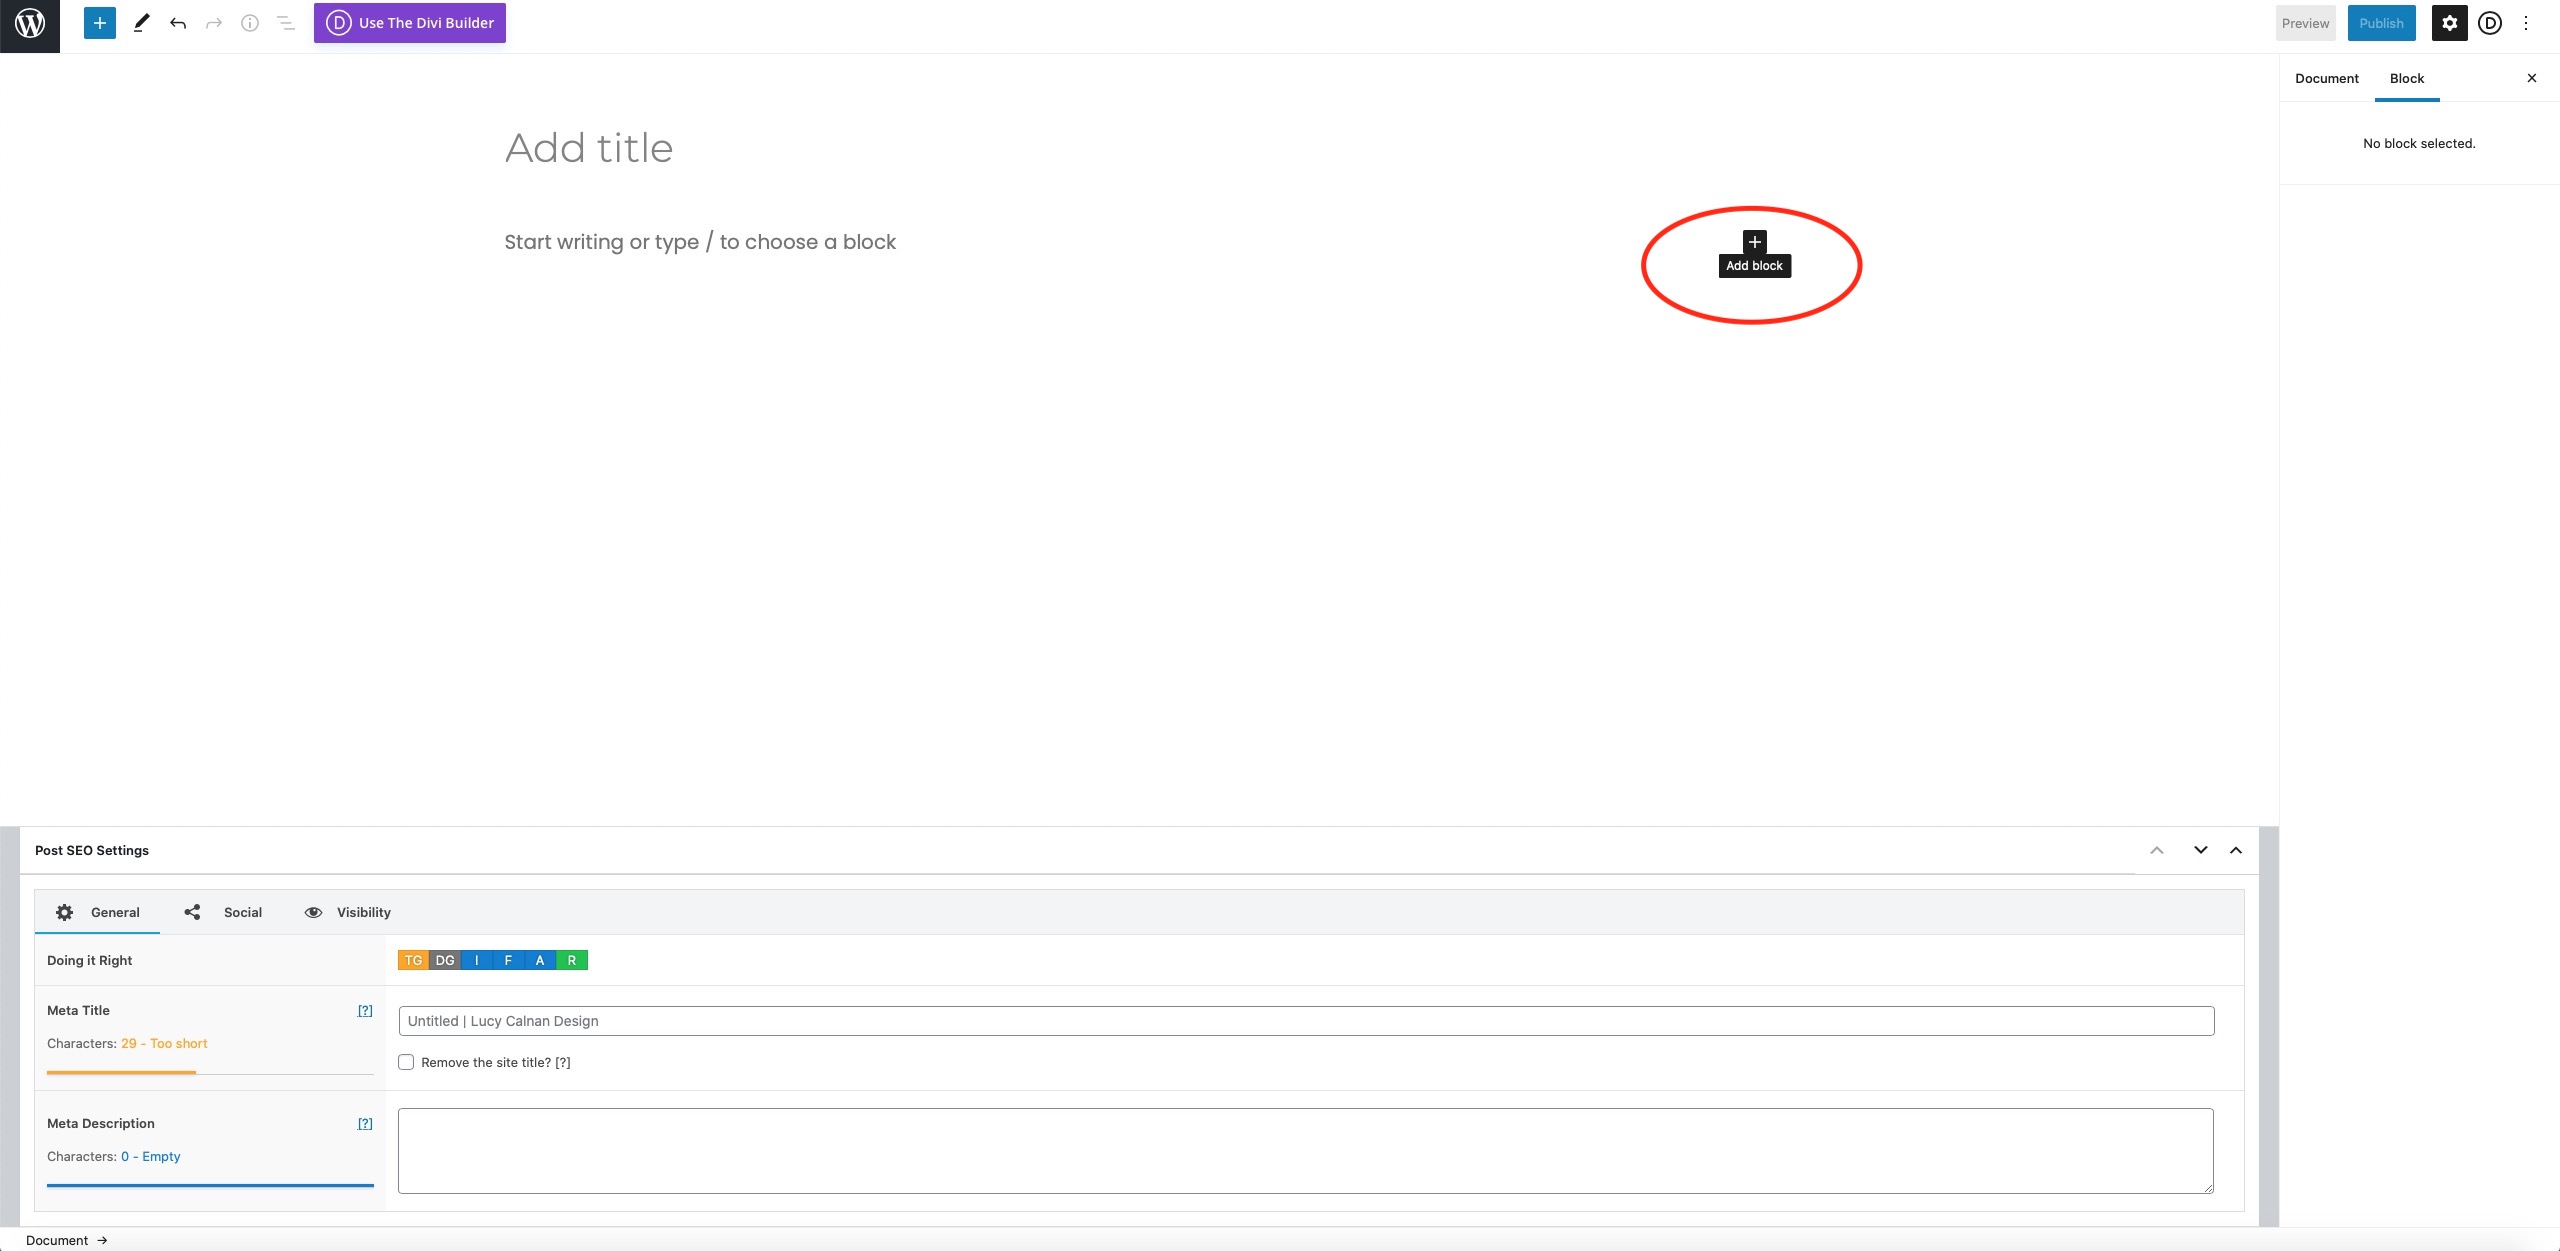
2. Next you need to click on the add block on the right hand side (see image below)
3. Next type in the Add block window type in Classic Block and then click to select this and your post or page should then look like this

4. Next click on the add media button in the top line of the toolbar (2nd to last icon on the top row). See image below indicating where this is

5. Now either upload the gif file you want to use or if you have already uploaded the gif select this from the media library.
6. Next choose your attachment display settings including the size you want the gif to be, where you want the file to link to and then click Insert into post. These options can be found on the bottom right hand corner of the add media screen. I usually use link to media file and chose a size of full size (you must select full size for the gif to be displayed with the animation as when WordPress resizes images the animation aspect is lost).

7. You should then see that you gif has been added into your post or page and will be animated
8. Next Save your post or page and Preview it to make sure that it is working.
That’s all there is to adding a gif to a post or page.
Do get in touch with us if you need any help with adding a gif to your WordPress website.